Looking to level up and make your video content the best it can be?
We sifted through student work collecting common mistakes with very easy fixes.
Run your eyes over this before starting your next assignment and get that 7 you deserve!
Video Recording:
Great Location = Great Shots!
Scouting and selecting your location before filming sets you in good stead to get the best possible shots.
Look for:
- Somewhere you can control light and sound by closing doors or blinds and where audio doesn’t echo.
- Anything distracting in the background like people walking by, unsightly objects (e.g. rubbish bins) and objects which look like they’re protruding from your talent’s head (think fences, poles and plants).
- A wet weather option: The weather doesn’t care about your due date and might just rain on your filming parade!
If you’re filming outside, look for:
- A location where everything visible in your entire shot is in full shade.
- Mottled light leads to shadows on your talent and full sun leads to both shadows and squinting too.
- Look (or rather, listen) for noise (construction, gardeners, birds, planes etc.) which will frequently interrupt your audio. Stopping and starting very quickly gets old for both you and your talent.
Framing fix:
Follow the three space rule when framing your shot: Head space, Shoulder space and Looking space.
Ensure there is space in your shot above the talent’s head and the shot isn’t cutting into their head at all. Also check the talent’s gaze is in the direction of the empty looking space in your shot and there is space in the frame on the side of their other shoulder.
Level up your eye level game:
If you’re eye level is off, it may look like you’re looking down or up at your talent which is a no go! How do you ensure your eye level is accurate? Start by making sure the camera, the talent and the interviewer are all on the same level.
These pointers make much more sense with an accompanying visual: Check out our video for a more detailed description of how to fix your framing.
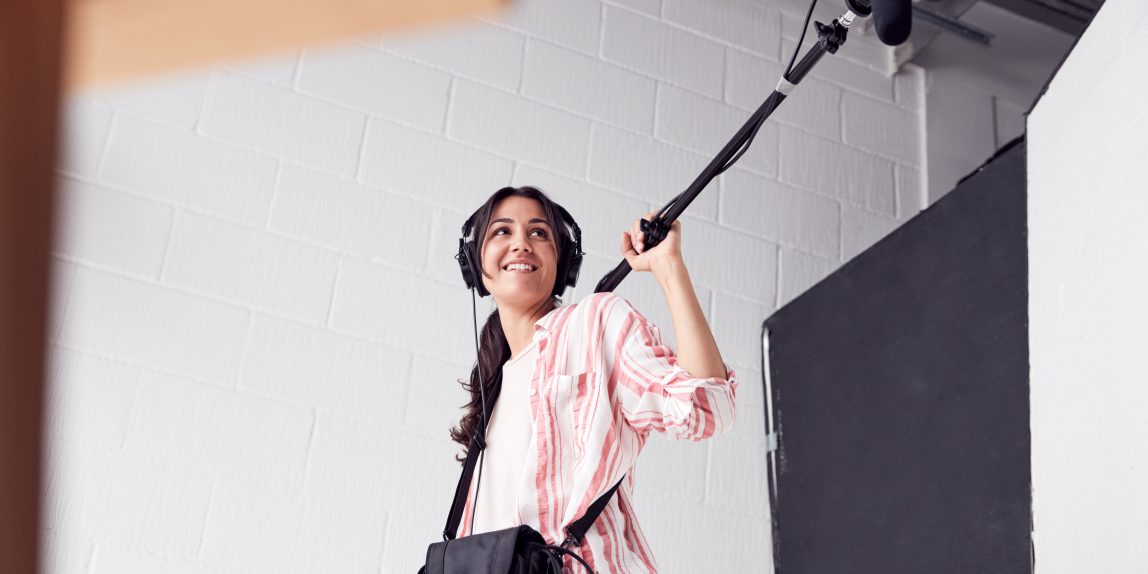
Steady up!
If there’s one relationship in your life that should be stable, it’s the one with your tripod.
A tripod is your reliable friend when it comes to ensuring a straight and steady shot. This tip is simple: Get a tripod and use it. Very rarely does handheld footage come out well and often you wind up with a Blair Witch style vibe. If that’s what you’re going for, great!…But it’s probably not!
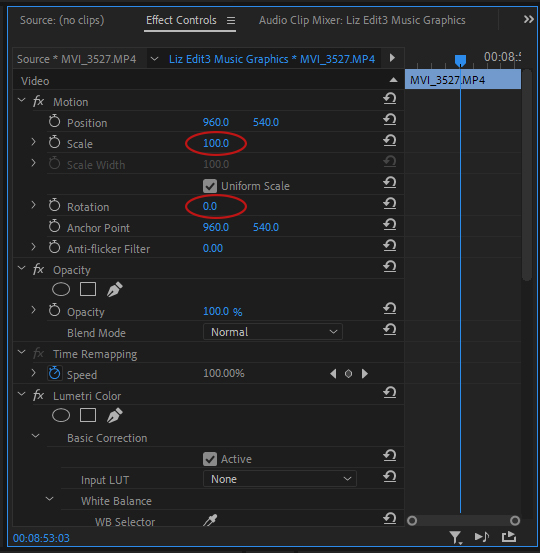
On the off chance your tripod (or un-even ground) lets you down, you can straighten a wonky shot in post-production. In Premiere Pro, you do this via Effect Controls> Motion> Scale + Rotation
Want to shoot slow mo? Check your frame rate first!
Dreaming of shooting your own epic slow mo but wondering why it looks sub-par?
If you intend to slow footage down, you need to ensure your camera is set to film at a higher frame rate. This ensures there are sufficient frames to slow it down.
As a general rule, you need to shoot at least 50 frames per second to be able to slow this down to half speed.
If you shoot at the Australian standard of 25 frames per second, there simply won’t be enough frames to slow the footage down, so the video will look jumpy and clunky—not like the pro slow mo you’ve been dreaming of. If you’re wanting a 30 frames per second video with slo mo, then you need to film your shots in at least 60 frames per second. Double the frame rate for slo mo is a good guide to follow.
Audio Recording:
Listen up, quieten down!
When scouting locations, it’s a good idea to test the audio in potential spaces too.
Set up your recording gear and monitor the audio with headphones to see what you can hear. You’d be surprised what noises really stick out when listening via headphones instead of relying on your ears only. Even the whir of air conditioning can ruin a good interview, but a quick audio test beforehand can save the day!
As mentioned above, avoid noisy, echoey spaces where you have little control over external noises.
See an audio test in action here.
External mics are your friend:
The microphone built into your mobile phone or DSLR doesn’t provide the best audio quality. It also limits how close you can get to your source of sound because your camera (and therefore microphone) placement is dictated by what you need to get in shot. This is why you need an external microphone.
External microphones are better quality and will allow you to get the microphone as close to the talent as possible, without being in shot. They often have much better noise cancellation too, so you’re less likely to have any room sound overpowering the sound of your talent.
Audio Repair:
Windy day? Annoying air-con? Echo got you down?
Sometimes no matter how much you prepare, a curve ball gets thrown your way on filming day.
Need to remove echo, wind hiss or background noise from your audio?
Check out our videos for a quick how-to:
Fixing echo in audio
Fixing wind noise in audio
Fixing background noise in audio
Matchy match!
There’s nothing worse than watching a video where all the different audio clips are varying volumes. The last thing you want is your viewer having to adjust their volume throughout your piece to accommodate louder or softer sections.
Head to our video for a quick demo on matching the volume of different clips in your piece and ensuring the overall levels are loud enough too.
Bonus Round:
We noticed a few other common mistakes to do with typography and titling in student videos.
- When creating name title supers, ensure these don’t take up too much space on the screen, but that the title of the talent is easy to read. As a general rule, a super normally appears in the lower third of the screen.


The colour choices also make this difficult to read.
Overall, it’s hideous and isn’t even doing it’s intended job.

Winner!
- Same goes with subtitles, they need to be not too big and not too small. Think Goldilocks: Just right! Test your subtitles with friends and see what they can comfortably read.
- Put some time into your font choices. It’s about finding something that isn’t super boring, suits your video but is easy to read. This is a good time to avoid Times New Roman or Comic Sans! If you’re stuck for ideas, just google “font choices for video” for tonnes of inspo!
Now go get that 7!